Don't forget to join us on Facebook!!
Click here --->> QUILTING REVOLUTION ON FACEBOOK <<--- Click here

Was sewing all weekend on my sweet "Suzie Centennial". A Vintage Singer Sewing Machine. She's a Model 99 and was born - January 5, 1950
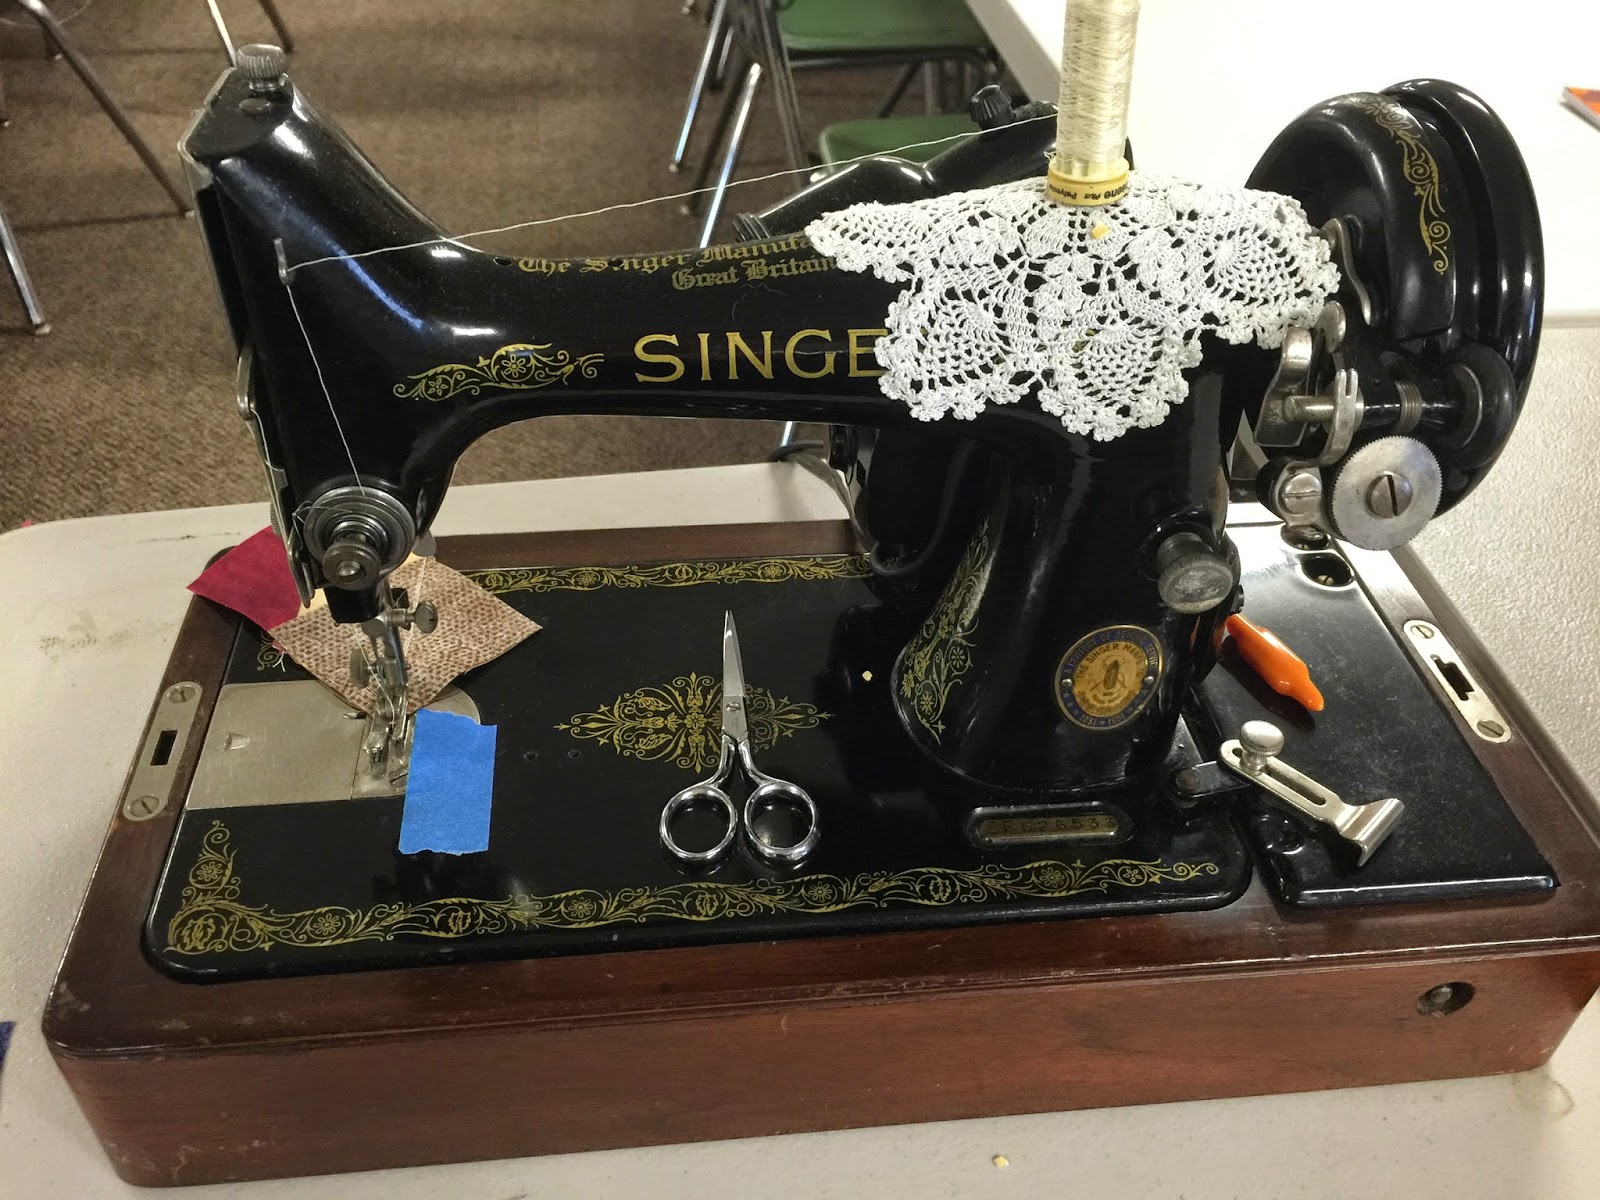
"Suzie" was my very first restoration on a Vintage Singer and she is to this day, my absolute favorite machine to use for piecing.

You can see more of her restoration pictures here if you'd like!
This is for Clue 2 - The goal - is to get perfect placement for the double diamond unit as well as that sweet little bonus square right?

Step 1 - a MUST HAVE for quilters! FULL ADHESIVE Post-it notes. I cut a 2.5" Square and a 2" square and sliced them on the diagonal. (Yes...I used my rotary cutter - GASP!)

Step 2: Using ANY ruler - lower your needle and use any ruler to line up with whatever straight line exists on your machine. (I used the bobbin plate cover as a guideline)

Step 3: place the tippy tip of the 2.5" square right up to the needle and line up along the ruler. STICK IT DOWN! Then the 2" square - on TOP of the 2.5" with the tippy tip right up to the needle! STICK IT DOWN!. (You could use two different colors to make it easier - I just drew a line with a pencil along the bottom edge of the 2" one so I could see it)

Step 4: Stick your piece right up to that needle and cover the 2.5" post-it exactly.

Step 5: Sew that baby! SLOW DOWN!! Watch the bottom tip along the edge of the post-it's to ensure it's perfectly straight. Don't watch the needle....it's not going anywhere! And if you don't watch the bottom as it's feeding - you're likely to move it and end up with a wonky stitching line!

Step 6: Once the corner to corner seam is sewn, run all the pieces through again using the same concept with the 2 inch post it! Right up to the needle - cover the 2" post-it. Put a little pencil mark on where it meets the bottom. Watch that pencil mark as you sew, so it's nice and straight!

Step 7: Viola! 2 seam lines - put your ruler in between the sewn lines and cut!

Result! Perfect start to your double diamonds, press them both, trim off the little dog ears on the itty bitty HST's and set them aside for another day!

Guess what....that lady that didn't want to find a marking tool to sit and mark all those squares....ending up making them all. (grin)
If you are curious of what this is all about - I'm doing the Grand Illusion Mystery Quilt authored by Bonnie Hunter. You can join us by following the clues here.
You can also join in on her MONDAY Linky Party here
Wow! Great tip! Thanks for sharing!
ReplyDeleteThanks Kevin! I was SOOO excited to figure this out!!
ReplyDeleteBeautiful machine! Way to go on the clue!
ReplyDeleteWhat a great sewing tip. I will definitely try it. Gotta get me some of these Post-Its for sure.
ReplyDeleteThank you for sharing. :D
Good idea! I've never seen the "all sticky" Post-Its, will have to see if they are available here.
ReplyDeleteGorgeous machine, too.
Nice tutorial. Thanks for sharing.
ReplyDeleteWhat an excellent tip! Wish I'd seen it before I marked those 800 lines. Will keep this in mind for next time. Thanks.
ReplyDeleteStash Overflow
Wow, look how smart that is! Thanks for sharing. I am always looking for easy ways to do things. I am not a pinned or marker.
ReplyDeleteIngenious! I wish I had read this BEFORE I marked all those stupid squares!!
ReplyDelete