Monday, May 25, 2015

VSM's Adopted Out - Singer 301 Restored

One of my favorite things about restoring old sewing machines is seeing the excitement from the new Mommies (and sometimes Daddies) that adopt them!  

Two of my girls went to a new home today along with a sweet little Singer 221 Featherweight that came in for service!  A Vintage Singer 301 and a Vintage Singer 201!


The stellar Singer 301 Long Bed was my first 301 restore some time ago. I've done several since then and it's one of my most popular models and one of my favorites to brag about!  Amazing machine!   It's been sitting on my shelf for a while waiting for its new owner.   After a year long wait, I decided it was time to look for a different person to adopt it.   Denise, one of my quilting friends, didn't hesitate... SOLD!  LOL  

It was an amazing learning experience.   When I started this fascination with old machines, each new model I acquired became a long experiment.   There was no rush, I wanted to learn.   I experimented with cleaning methods, bought new tools, learned about dremels, screwdrivers, wiring, you name it.  I was that kid that took all of her toys apart.   Drove my mom nuts.   When I got into my 30's, I started to actually put things back together.  (grin)

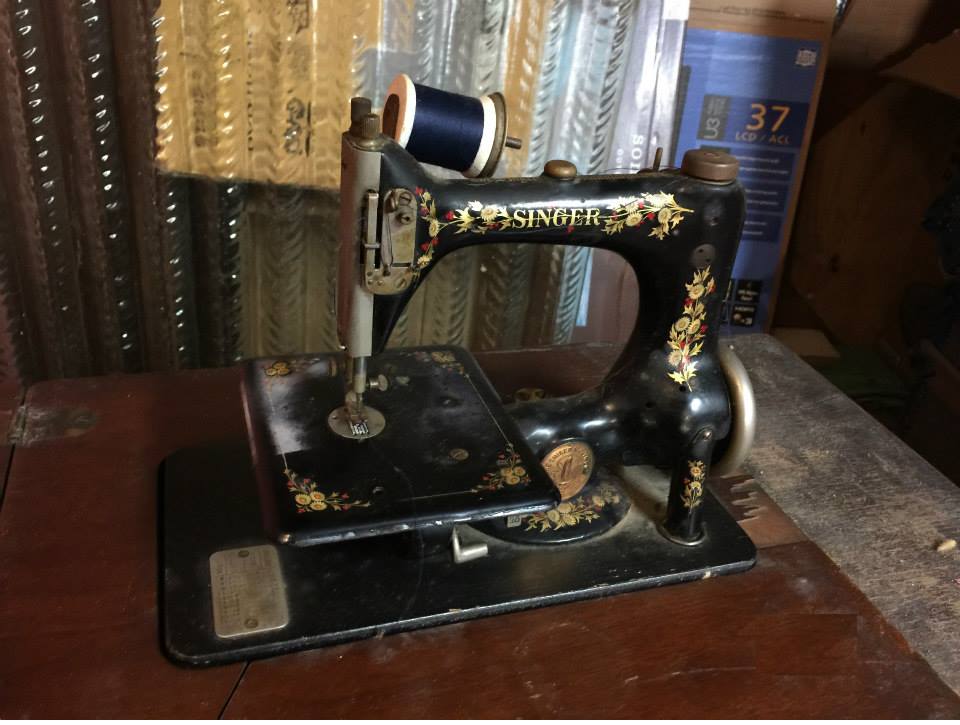
Here's the auction photo that started this girls journey....


When I saw it in person, it looked even worse.   But I figured, let's see what it goes for, small investment, HUGE learning opportunity.


After 100's of hours of removing every single part, cleaning each one and putting it back together, a beautiful machine emerged.

Singer Model 301A (Long Bed) - Serial # NA213934 Born 1953 Anderson, SC (Start of 301A)

As much as I'd like to give you a documented journey of the 201 in the photo, she left almost as fast as she arrived, LOL   Same new owner!  


Tuesday, May 12, 2015

Embroider This!! Part 2 (Seasonal Sampler)

Don't forget to join us on Facebook!!
Click here --->> QUILTING REVOLUTION ON FACEBOOK <<--- Click here

Sometimes the best way to get a planned project done...is to involve other people!  LOL  So THEY can make you truly commit to a project!

6 Months ago I had one of those surges of energy that came out of nowhere, put my head down and converted a graph paper sketch of a wall hanging into EQ7.   You can see that post here. The idea was to create a wall hanging design for some Machine Embroidered Block designs that I spent a weekend stitching out EONS ago!  I felt all KINDS of accomplished.

The intention was to take a BIG bin of fabrics to a "sew weekend" with my local guild, choose fabrics, cut them up, and stuff them into manageable bags to have a "grab and run" PIB (Project in Bag).   I mentioned my productivity at the January guild meeting and several asked if I would host a "Block of the Month" (BOM) with the group for my design.   Well SURE I said! They put me on the calendar to begin in May.

We have quilters of ALL skill sets in our group, so my simplistic graph paper cut outs probably weren't going to work for everyone.   So I spruced up the directions and began to share!  For those that might like to participate - here is Month 1!  If you want the instructions that I made for everyone on piecing them together, just shoot me a message!

2015 Seasonal Special Block Wall Hanging Series


Unit 1 (Make 2)
Finished Size is 10” x 10”
“Special Block” = 2x4 finished


Cutting:
a) You’ll need a total of (72) 1 ½” x 1 ½” squares (36 for each block). You could cut these from strips, scraps or you could also sew two strips together and cut two patch units to save time

b) You’ll need a total of (8) 2 ½” HST’s (Half Square Triangles) (4 for each block) . I used Thangles to do these. So easy and quick! You use the package that says 2” Finished. Cut 2 strips 2 ½” long, pin together, and sew on the lines. Cut and press!

c) You’ll need a total of (8) 2 ½” x 4 ½” Bricks (4 for each block). These can be cut from 2 ½” strips!

d) You’ll need a total of (4) 1 ½” x 4 ½” Bricks (2 for each block. These can be cut from 1 ½” strips!

e) This spot is for the SB1 (Special Block 1) Unit 2 ½” x 4 ½”


Friday, May 1, 2015

Acquisition - Vintage Singer Model 24

Well THIS was unexpected...   was perusing an Estate Sale of a man that was a generational Reverend.   The house was over 100 years old and had the coolest stuff!   In the basement there were two treadle sewing machines.  One was a Model 12 Fiddle Base (which I already have one in my personal collection) and this......

Vintage Singer Model 24 Chain Stitch Sewing Machine
I was so intrigued with this little lady!   A gentle wipe on the dust revealed perfect hand painted decals.   She's so tiny.  I wonder where she came from.   Who was her first owner?  What was she purchased for?    The production of the class 24 machines started in 1897 and continued post 1943. Most of which were industrial machines.   This is the simplest form of sewing machine; it has neither shuttle or bobbin, no tensions to adjust and the machine is ready for stitching when the needle is threaded. It makes the single thread chain stitch.  I haven't tried it yet, but I'm told that it's similar to the stitch across pet food bags.   With the pull thread that releases the whole thing.   


She came in the smallest treadle cabinet I have every seen.


Lots of cool stuff in the drawers


I love the engravings on the needle plate